
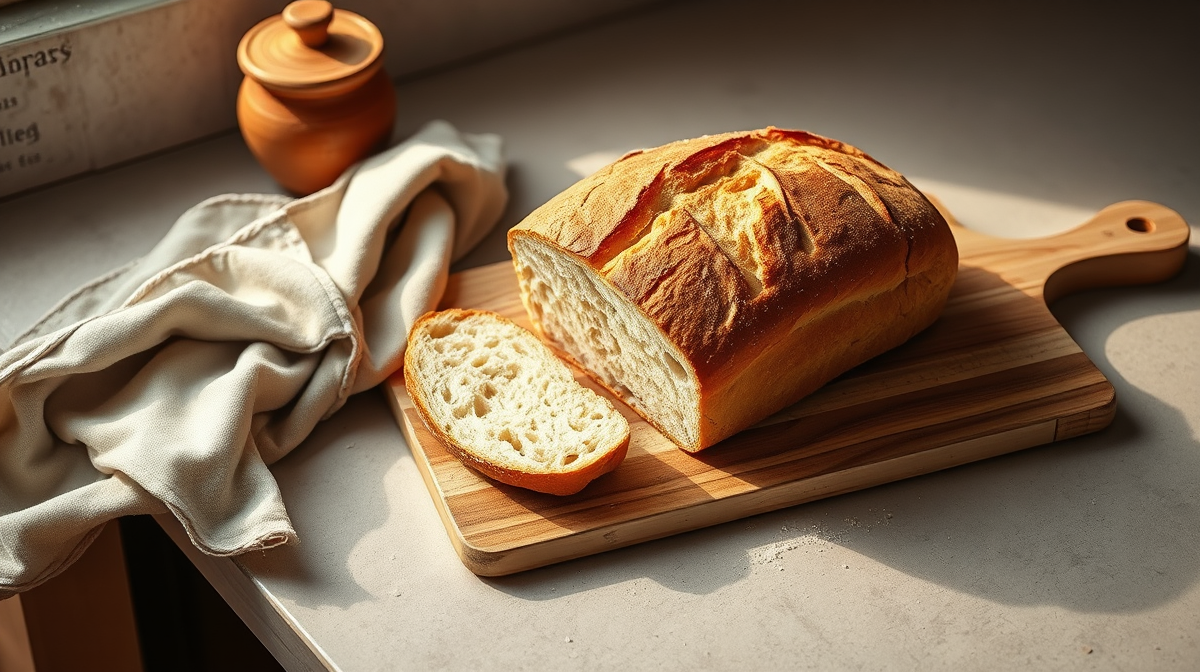
Why Weekly Bread Turns Hard or Soggy
We have all been there: you take out yesterday’s bread and it is rock hard, or you store it in a plastic bag and the crust turns rubbery. The problem is not the bread itself, but how we manage moisture and starch in the kitchen. When bread cools down, starch retrogradation begins: molecules reorganize and push out water, hardening the crumb. If we seal it in an airtight container, that moisture stays trapped and softens the crust. If we leave it out on the counter, it dries out from evaporation. The solution is not buying a fancy airless canister or a ceramic jar with a vacuum valve. It is three methods you already have at home that, when applied correctly, keep the texture intact.
Method 1: Cotton or Linen Bag (The Right Breathability)
This is the classic neighborhood bakery system, and it works because it allows micro air circulation. Bread needs to breathe. Buy or sew a thick cotton or unlined linen bag. Place the whole loaf or quarters inside without packing it tight, and close it with a fabric tie or wooden clip. Store it in a cool, dry corner of the kitchen, away from the oven or direct sunlight. The fabric absorbs excess surface moisture and releases it gradually, keeping the crumb soft and the crust firm for two to three days. If you live in a very humid area, add a sheet of kitchen paper inside the bag and replace it daily. Never hang it in the fridge; cold accelerates starch retrogradation and dries out bread in hours.
Method 2: The Freezer as a Freshness Archive
If you will not consume the bread within forty-eight hours, the freezer is your best ally. Extreme cold halts moisture migration and locks starch in its freshest state. The trick lies in prepping the bread before freezing. Slice the loaves or portions to your usual eating size. Wrap each piece tightly in aluminum foil or plastic wrap, pressing well to push out air. Then place them in a freezer bag, remove all excess air, and seal. Apply the FIFO method we use for the pantry and label with the date. To thaw, take the piece out and let it sit at room temperature for an hour. If you are in a rush, put it straight into the oven or skillet. This method extends bread life up to three weeks without losing aroma or texture. You can check our guide on how to freeze food properly to adjust times based on dough type.
Method 3: The Toaster and Oven as Crust Resurrectors
When bread has lost its crunch but still smells like fresh bread, do not throw it away. Dry heat reactivates the crust and slightly rehydrates the crumb without making it damp. For slices, use the toaster on medium. You do not need to brown them heavily; just warm them until they sound crisp when touched. For whole pieces or halves, preheat the oven to 160 °C. Place the bread directly on the rack (not on a tray) for five to seven minutes. Hot air circulates above and below, restoring the crunchy structure. Take the bread out, let it rest for two minutes, and taste it. You will notice the crumb regains elasticity. This trick is ideal for day three or four, and it prevents us from throwing away perfectly good food over a texture detail. If you want to dive deeper into habits that reduce kitchen waste, I leave you a practical link on how to organize it without stress.
Golden Rules and Daily Mistakes
Always store bread whole if you will not consume it quickly; slicing it exposes more surface area to air and dries it out faster. Never refrigerate bread; the fridge is number one enemy of the crumb. If your family eats sliced bread, freeze the whole baguette and slice it yourself when needed. Use the cloth bag for immediate consumption and the freezer for backup. With these three steps, your kitchen stops depending on expensive containers and starts working with what you already have. Consistency in cooking does not come from buying more, but from applying the basics with clear judgment.
Sources
Spanish Agency for Food Safety and Nutrition (AESAN). Guidelines on home food storage and moisture control in domestic kitchens. Harvard T.H. Chan School of Public Health. Food Preservation and Waste Reduction Guidelines for Home Kitchens. Focus on temperature techniques and humidity control to maintain quality of staple foods.
- #pan-casero
- #almacenamiento-cocina
- #reducir-desperdicio